

How To Repair A Car Ac Compressor
The compressor is designed to pump refrigerant through the A/C organization and to convert low force per unit area vapor refrigerant into high pressure level vapor refrigerant. All modern compressors utilize a clutch and drive pulley. The caster is driven off a drive belt whenever the engine is running. When the A/C button is pushed the clutch is engaged, locking the compressor to the pulley, causing it to plough.
If the compressor has failed, the A/C system will not work. A compressor that is seized may also contaminate the rest of the A/C system with metal debris.
Part i of 2: Locate the compressor
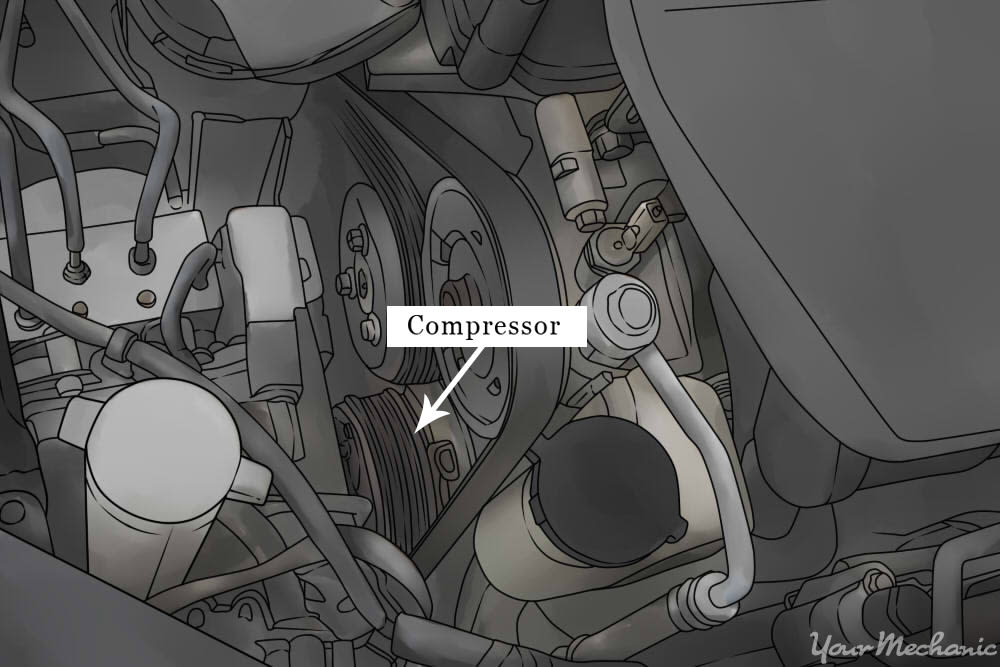
Step 1: Locate the A/C compressor. The A/C compressor will be located at the forepart of the engine with the residue of the chugalug-driven accessories.
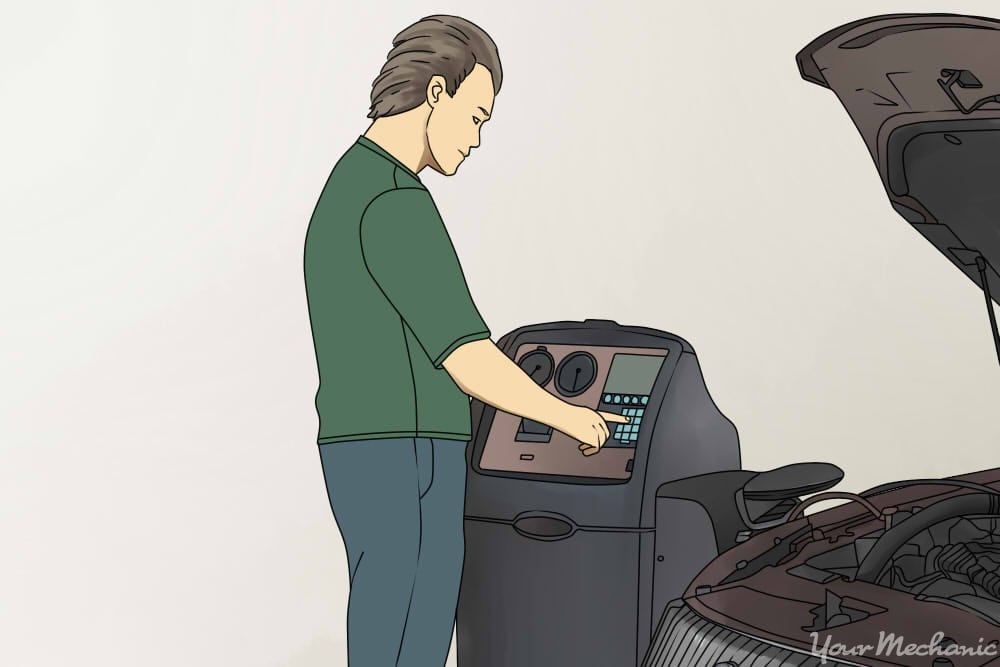
Step 2: Accept the refrigerant recovered by a professional. Earlier the A/C system can be serviced, the refrigerant must exist removed from the system.
This can just exist done by a professional using an evacuation machine.
Function 2 of 2: Remove the compressor
- Jack and jack stands
- Protective gloves
- Repair manuals
- Safety glasses
-
Wrench
-
Notation: Be sure to clothing protective gloves and safety glasses earlier working.

Footstep i: Locate the serpentine chugalug tensioner. If you have a difficult fourth dimension finding the tensioner, consult the chugalug routing diagram.
This tin can typically be found on a decal placed somewhere in the engine compartment, or in the vehicle repair manual.
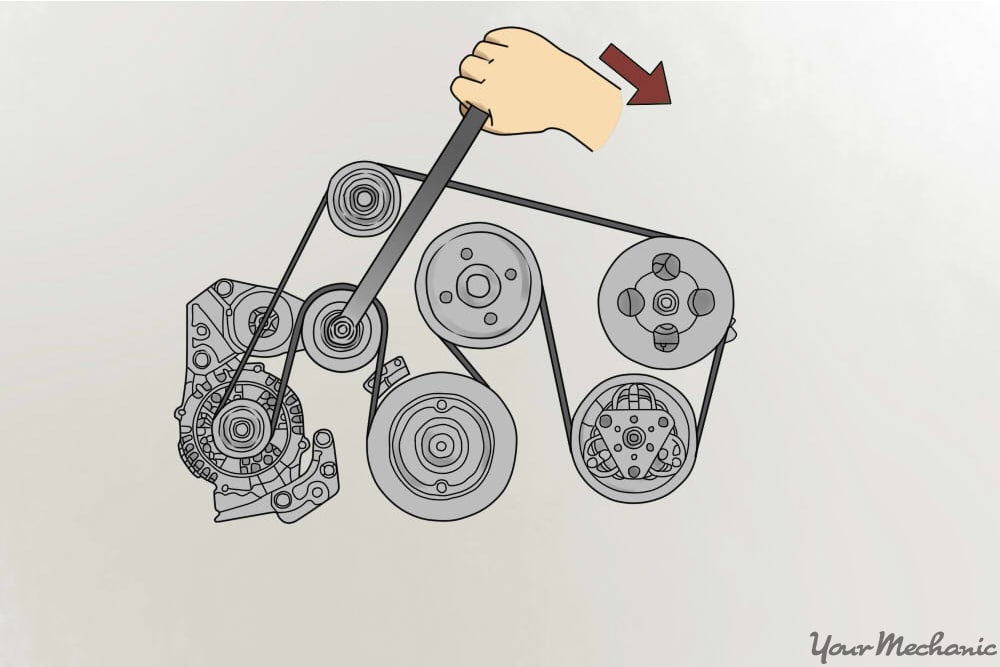
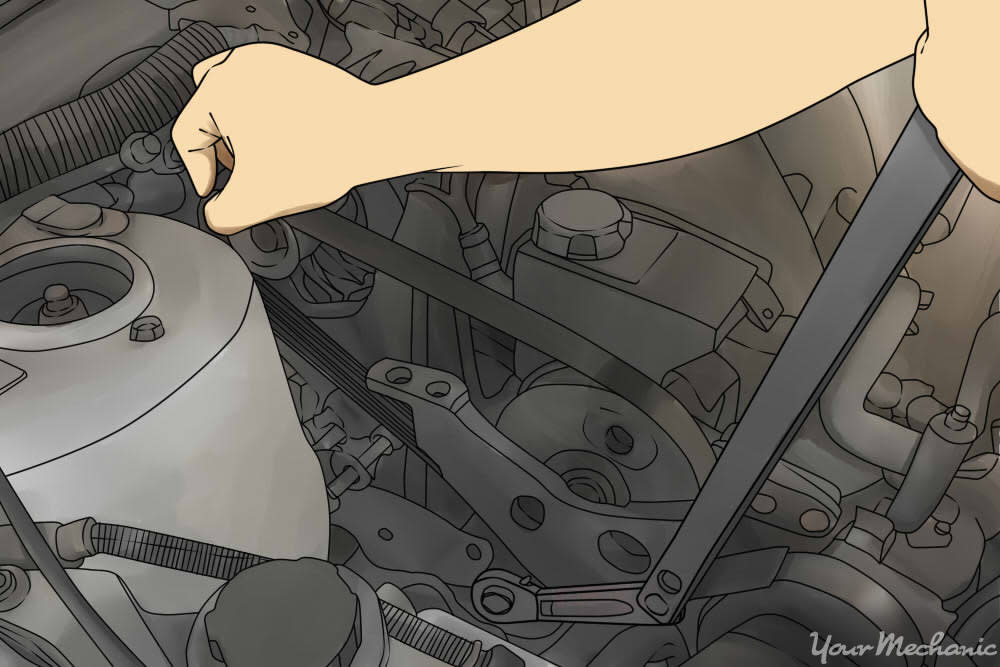
Step 2: Rotate the tensioner. Use a socket or wrench to slide the automatic tensioner away from the chugalug.
Whether this is clockwise or counterclockwise depends on the vehicle and belt routing.
- Notation: Some tensioners will have a foursquare hole to insert a ratchet end into, rather than a bolt head for a socket or wrench.
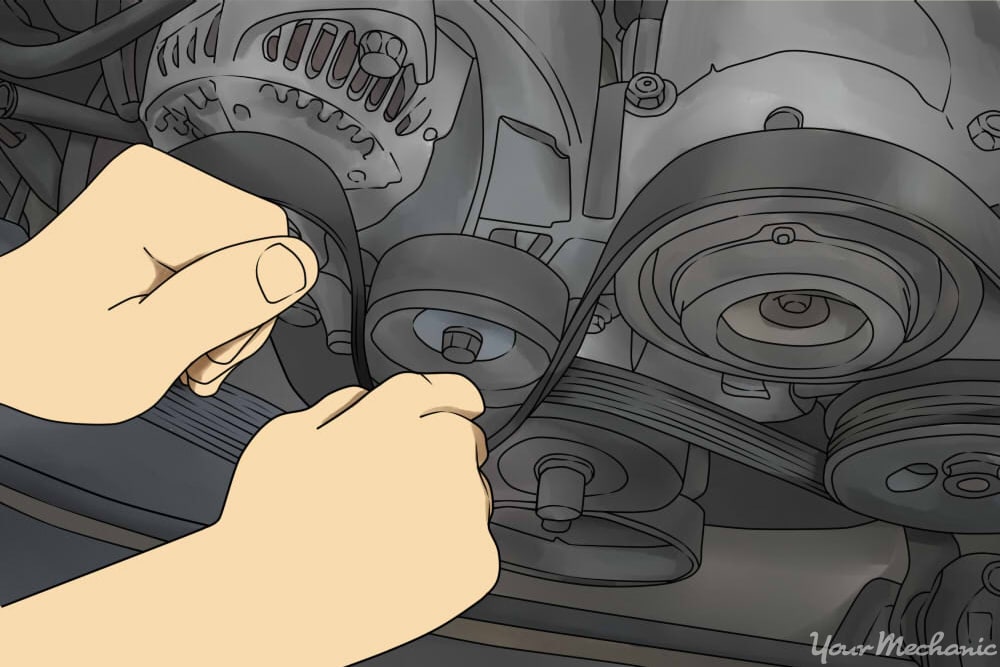
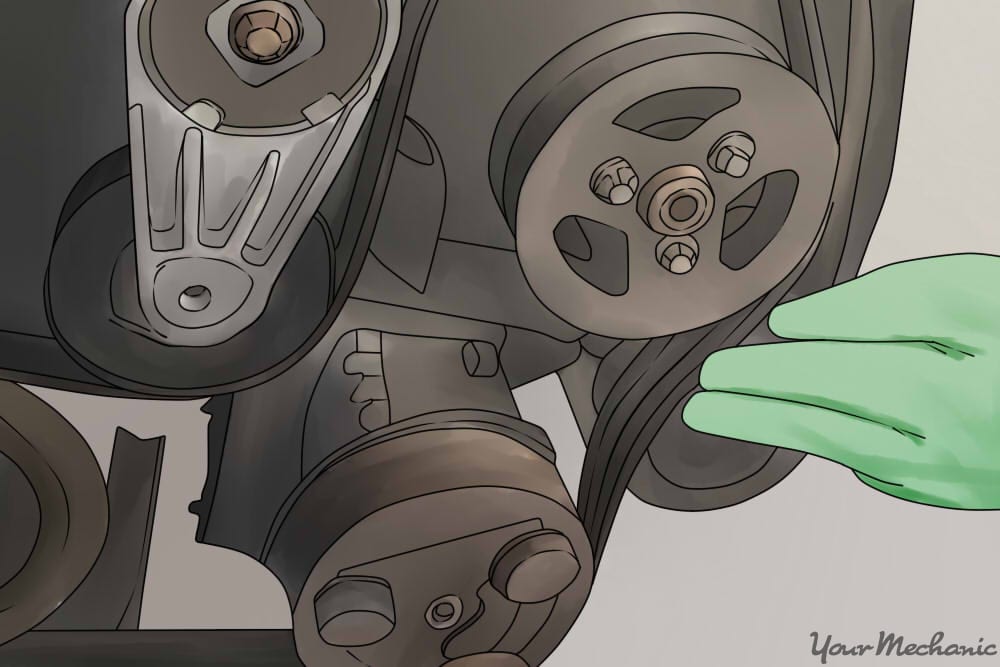
Stride 3: Remove the belt from the pulleys. While holding the tensioner away from the belt, slide the belt off the pulleys.
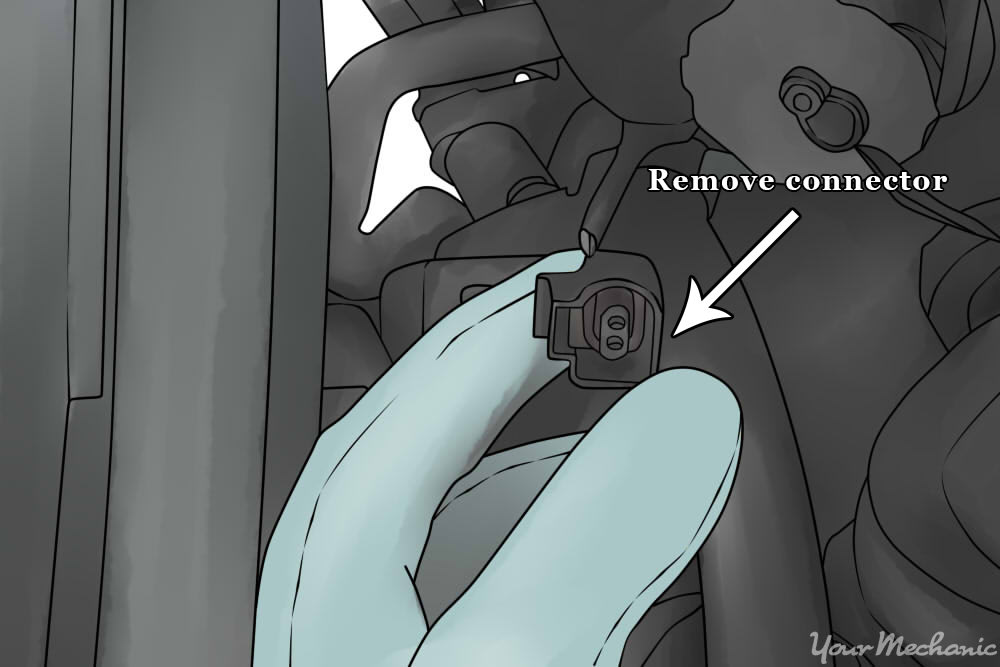
Footstep iv: Disconnect the electric connectors from the compressor. These should pull out easily.
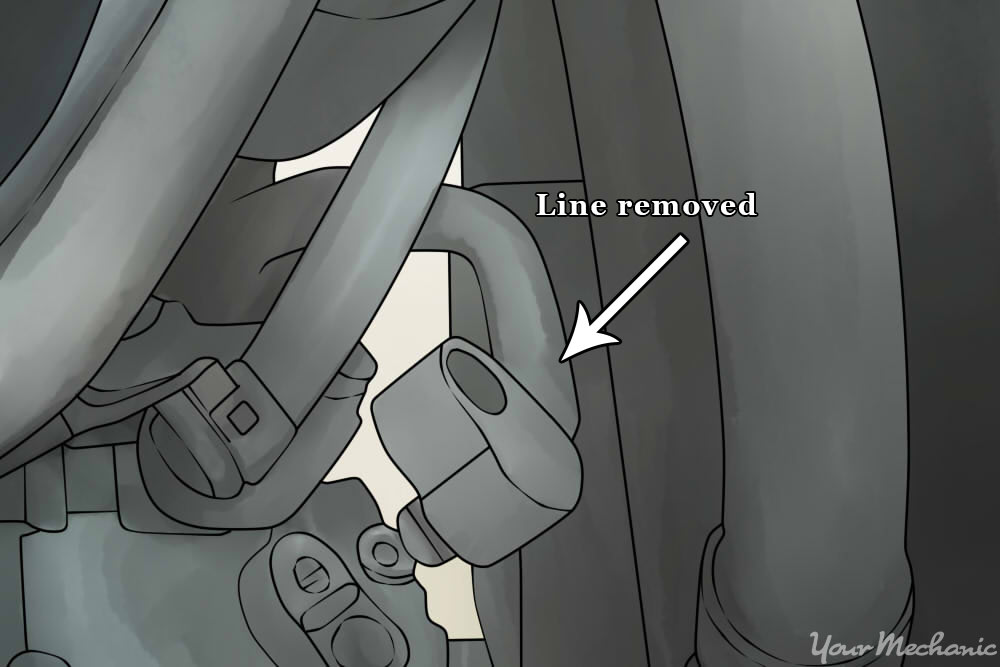
Stride v: Disconnect the pressure hoses from the compressor. Using a ratchet or wrench, disconnect the pressure hoses from the compressor.
Plug them to prevent system contamination.
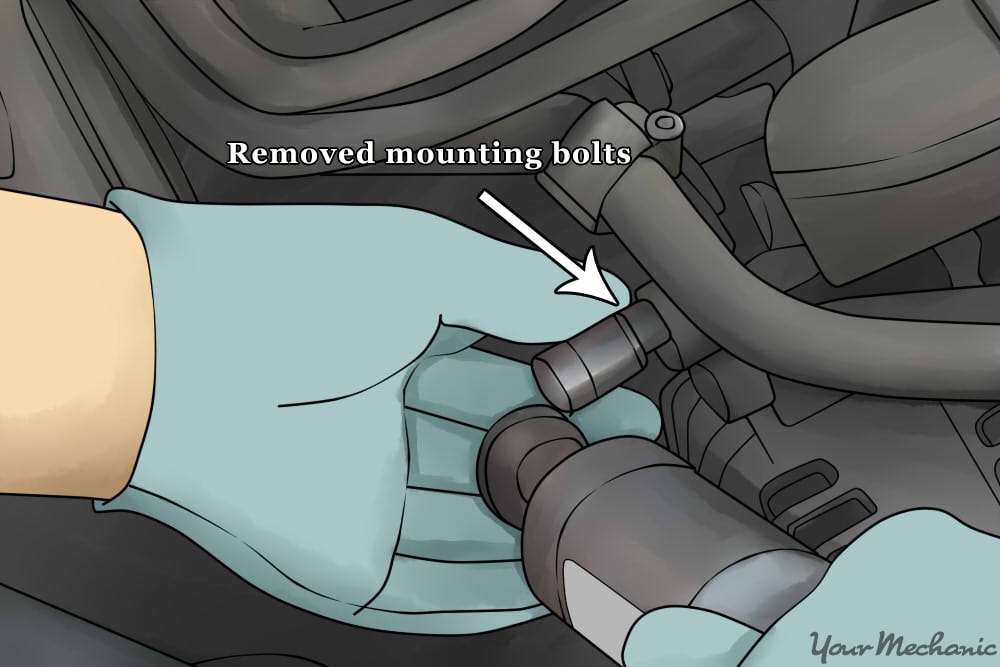
Step 6: Remove the compressor mounting bolts. Using a ratchet or wrench, remove the compressor mounting bolts.
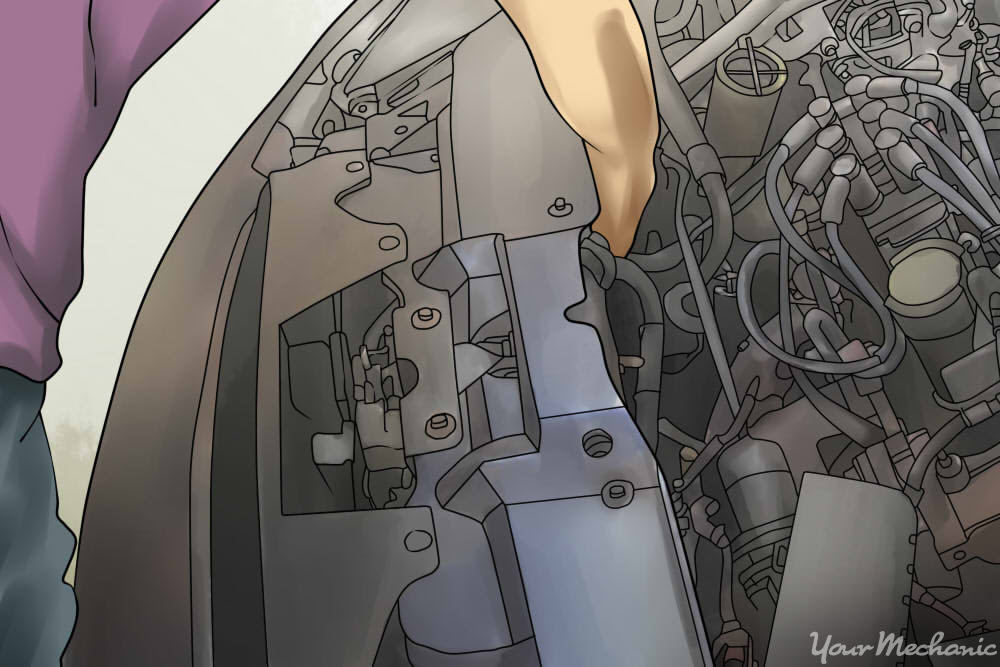
Step 7: Remove the compressor from the vehicle. It should come out with a piddling tugging, but be careful because it is often heavy.
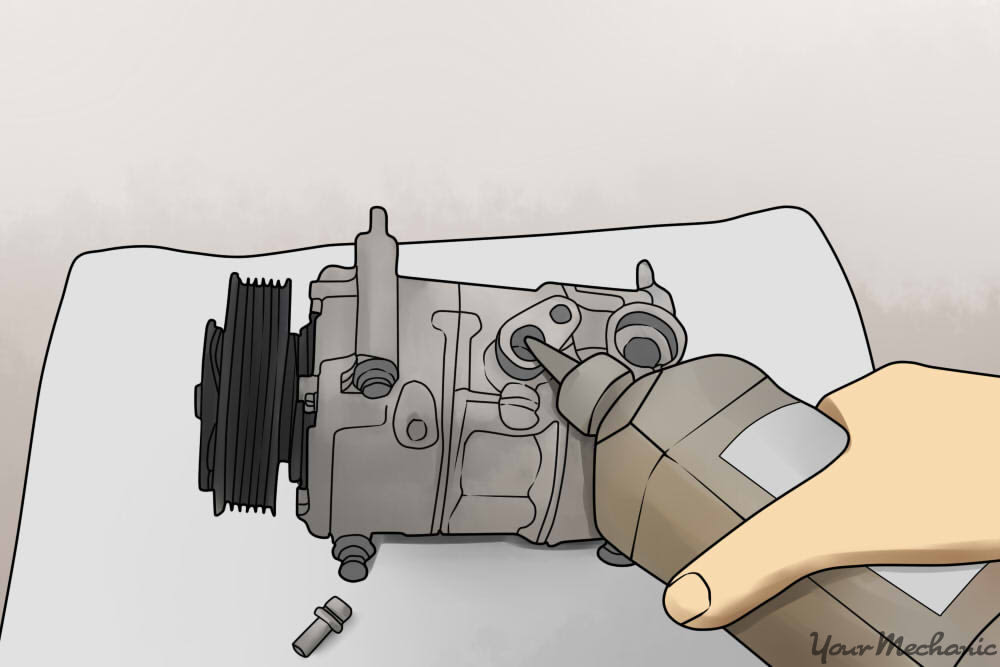
Step viii: Prepare the new compressor. Compare the new compressor to the old 1 to ensure they are the aforementioned.
So remove the grit caps from the new compressor and add a small amount of recommended lubricant to the new compressor (unremarkably around ½ ounce). Most compressors employ PAG oil, just a few use Polyol Glycol, so information technology's important to determine which is used in your vehicle.
Besides, some compressors come with the oil already installed; read the instructions supplied with your compressor.
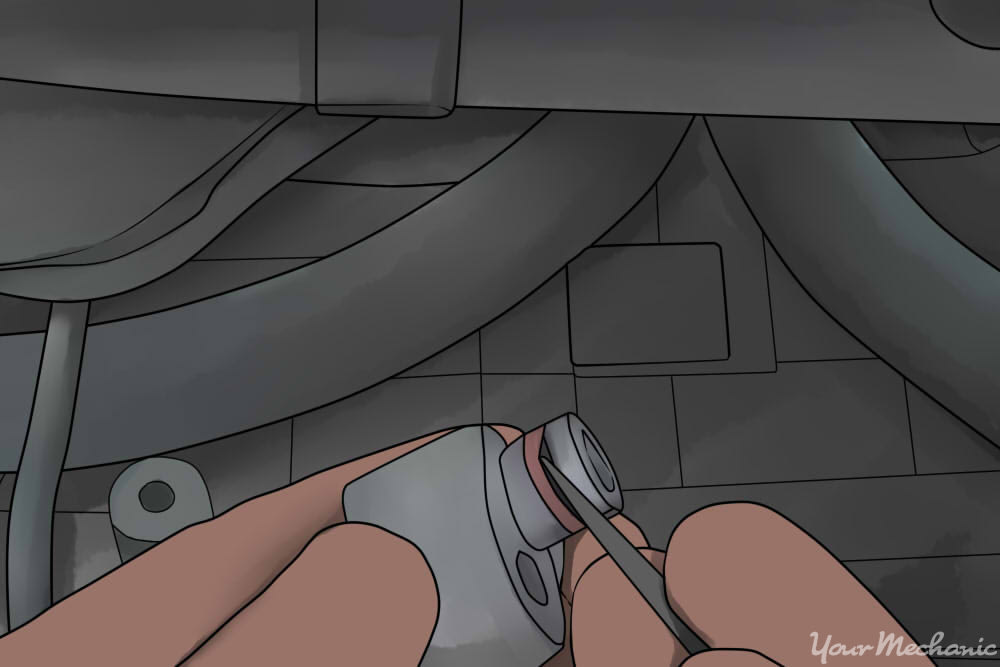
Step 9: Replace the force per unit area line o-rings. Use a modest screwdriver or pick to remove the o-rings from the A/C pressure lines.
Some compressors will come up with replacement o-rings, or your tin can go replacements from your local auto parts store. Slide the new o-rings into identify.
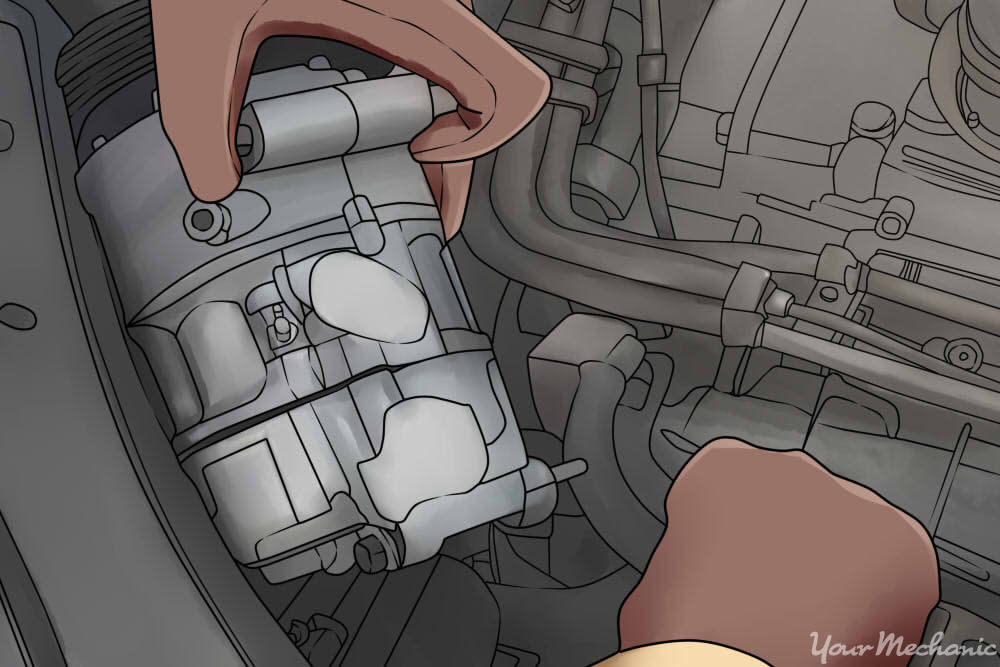
Step 10: Lower the new compressor into the vehicle. Lower the new compressor into the vehicle and align information technology with the mounting holes.
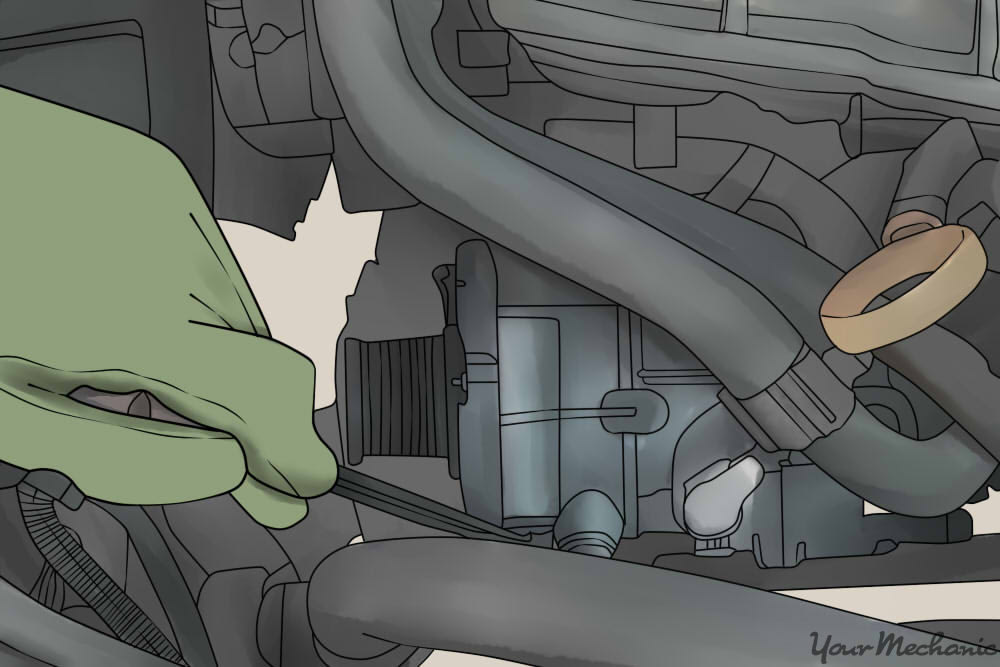
Step 11: Reinstall the mounting bolts. Reinstall the mounting bolts and tighten them downwardly.
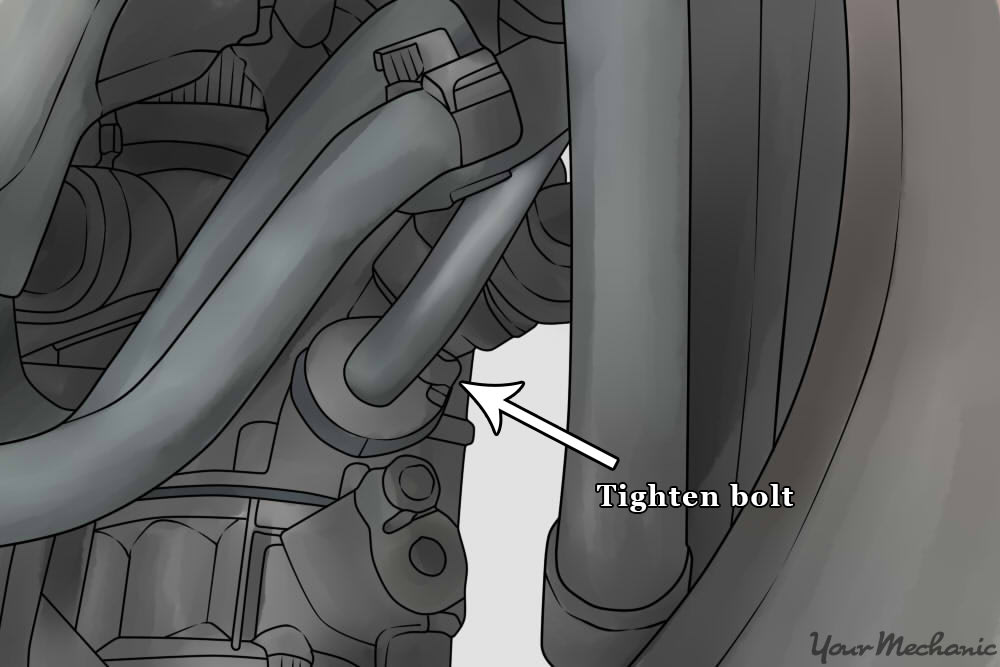
Pace 12: Reinstall the lines. Reinstall the lines and tighten down the bolts the line bolts.

Step thirteen: Reinstall the electric connectors. Reinstall the electrical connectors as they originally were.
Pace xiv: Position the belt on the pulleys. Position the belt on the pulleys, post-obit the belt routing diagram to ensure the belt is routed correctly.
Step 15: Install the new chugalug. Push or pull the tensioner to a position that allows the chugalug to be installed onto the pulleys.
One time the belt is in place, you lot tin can release the tensioner and remove your tool.
Step 16: Have a professional person recharge the system. Have the system recharged past a professional.
You should now have ice common cold A/C - no more sweating through your clothes on a hot summer's twenty-four hours. Compressor replacement is not an easy task, though, and so if you adopt to accept a professional person tackle this task for you, the team at YourMechanic offers peak-notch compressor replacement.
The statements expressed to a higher place are merely for informational purposes and should be independently verified. Please see our terms of service for more details

How To Repair A Car Ac Compressor,
Source: https://www.yourmechanic.com/article/how-to-replace-a-car-air-conditioning-ac-compressor-by-mia-bevacqua
Posted by: mccleandonfe1985.blogspot.com
0 Response to "How To Repair A Car Ac Compressor"
Post a Comment